How to do [Windows 10] PC entire backup (system image backup)
How to do [Windows 10] PC entire backup (system image backup)
Table of contents
Description
Prior confirmation
Method of operation
Description
A system image is a picture of your entire computer at a specific moment, which includes the programs that are installed, your system configuration, and the files saved to your hard drive. If your hard drive crashes or your computer stops working, you can use a system image to restore the contents of your computer.
- Please note that music data purchased in digital broadcasting programs or online are not included in your system image
Your computer can save multiple system images at a time. Also, if you want to save a new system image on your hard drive or on an external hard drive, and there is not enough space, your computer will delete the old system image.
Prior confirmation
- The system image backup process takes a lot of time. If you want to back up only the files you have saved on your hard drive, we recommend that you use the file history back up.
▼ related Q & A:
How to back up using the [Windows 10] file history
- If your hard drive (partition) is more than 2TB, it cannot be backed up. This limitation is due to the file format (VHD1.0) used in creating system images.
In order to successfully create a system image, you need to change the drive size to under 2TB. For information about how to change the size of the drive, please refer to the related Q & A below.
If you want to back up to multiple drives at once, the size of each drive must be less than 2TB and the total to be backed up cannot exceed 2TB.
▼ related Q & A:
How to create / delete the [Windows 10] partition
- Content that is protected by copyright, such as digital broadcasting and music data, can not be successfully backed up. You must perform a separate backup on the application. For more information, please reference the help file of each application.
- If your drive is encrypted using BitLocker drive encryption and device encryption, please release the encryption before performing the backup.
- Please connect an external hard drive or flash drive on which to save the backup before you begin the operation.
Method of operation
- The following as an example of how to back up your computer to an external hard disk.
Depending on the location where you plan to save your back up and the computer model you have, your screen may appear differently.
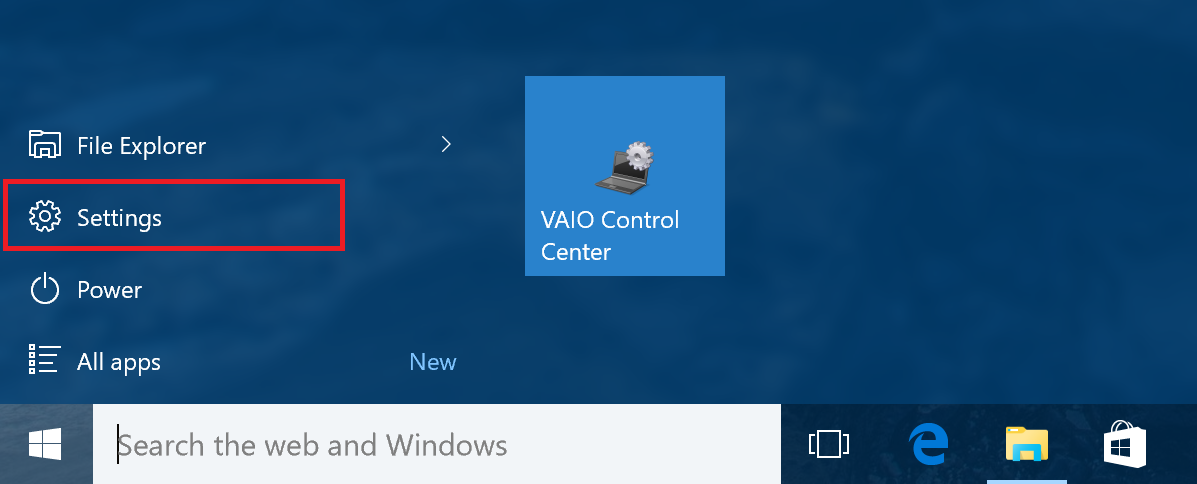
1. Click the Start button.
2. Once the start menu is displayed, choose Settings.
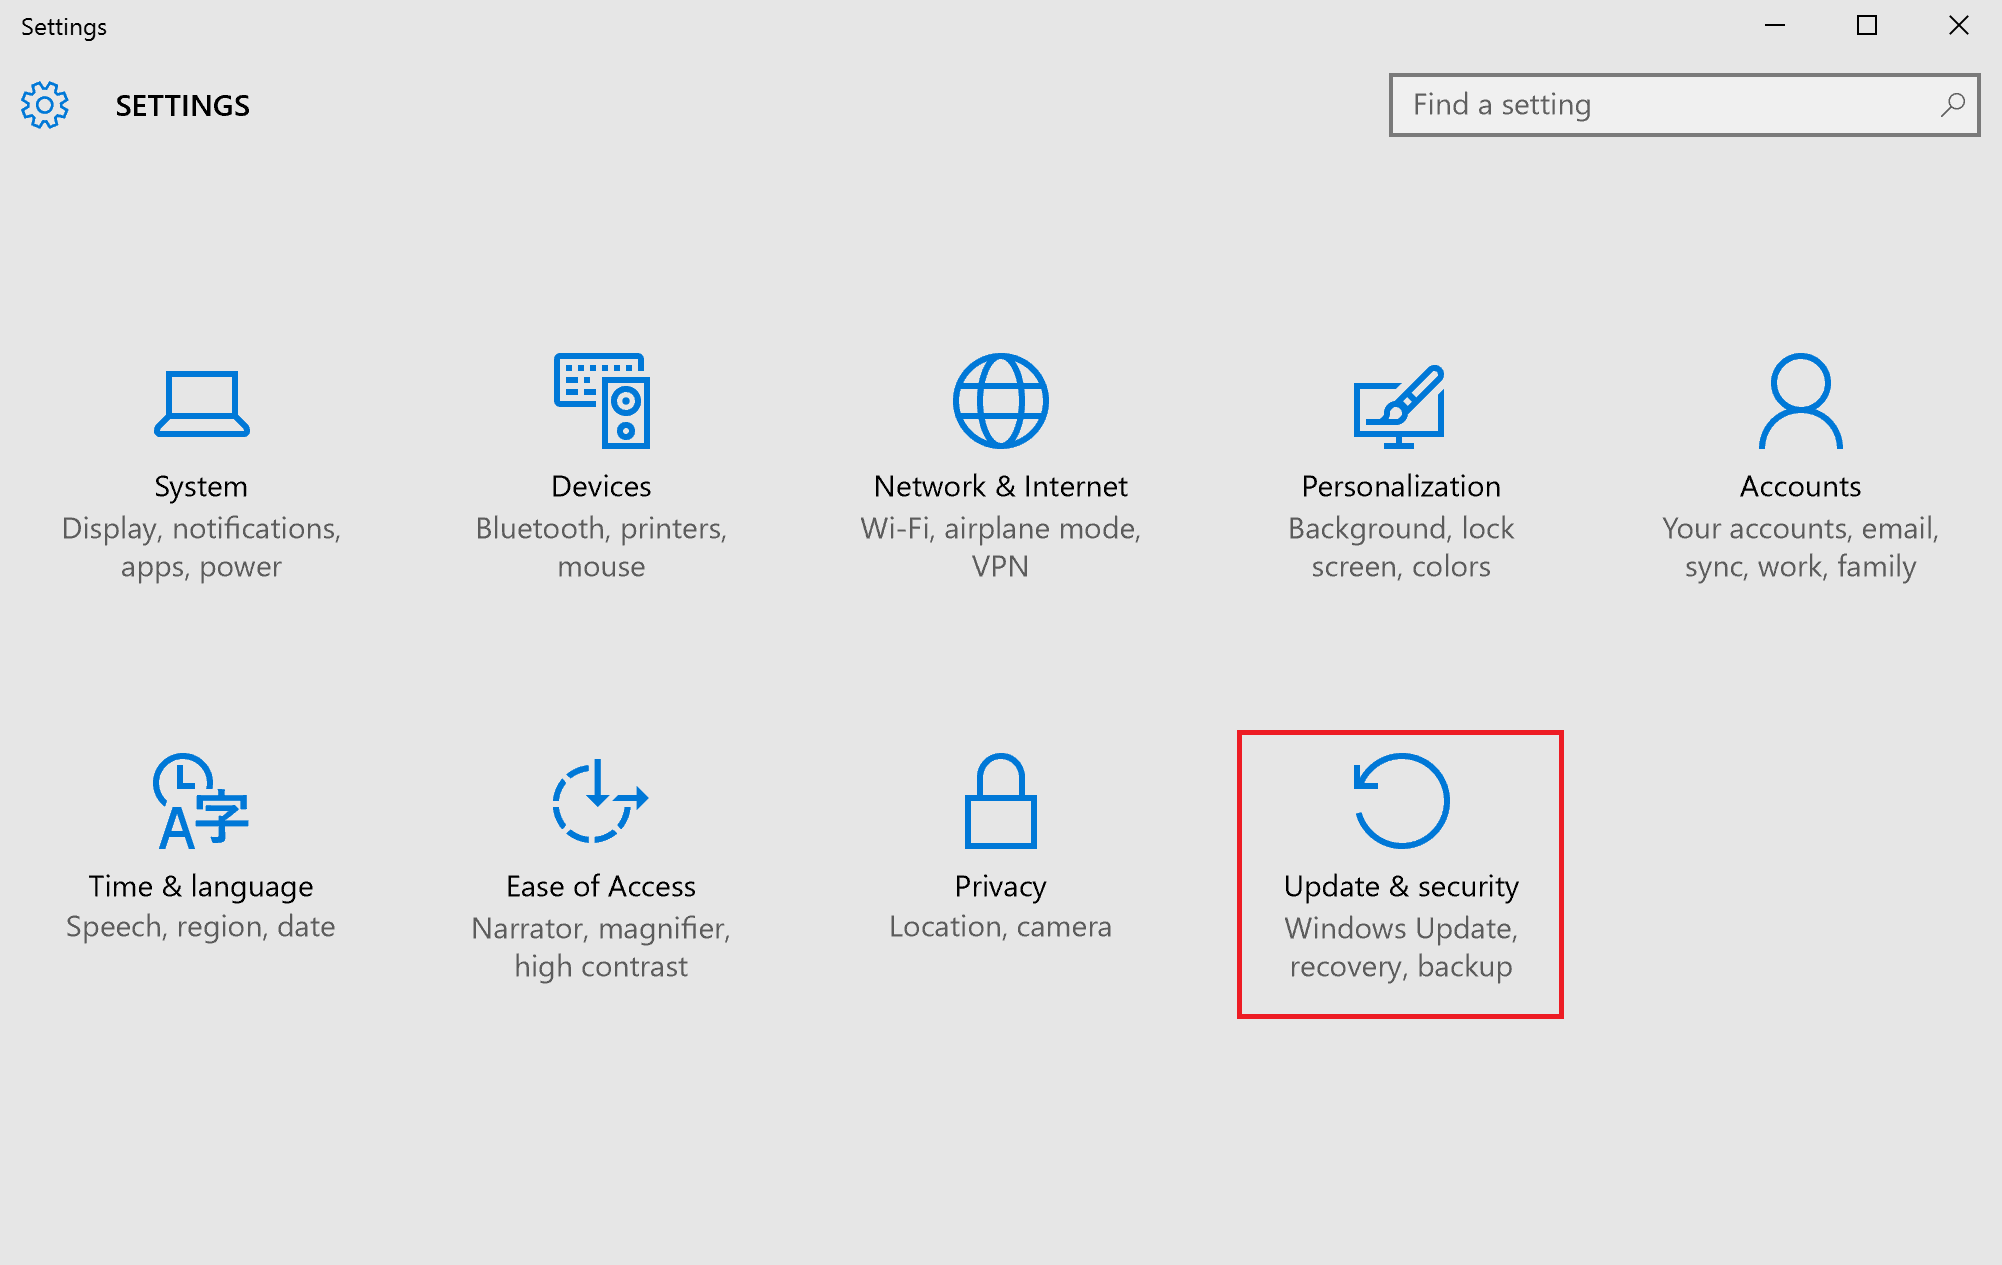
3. When the Settings screen appears, select Update and Security.
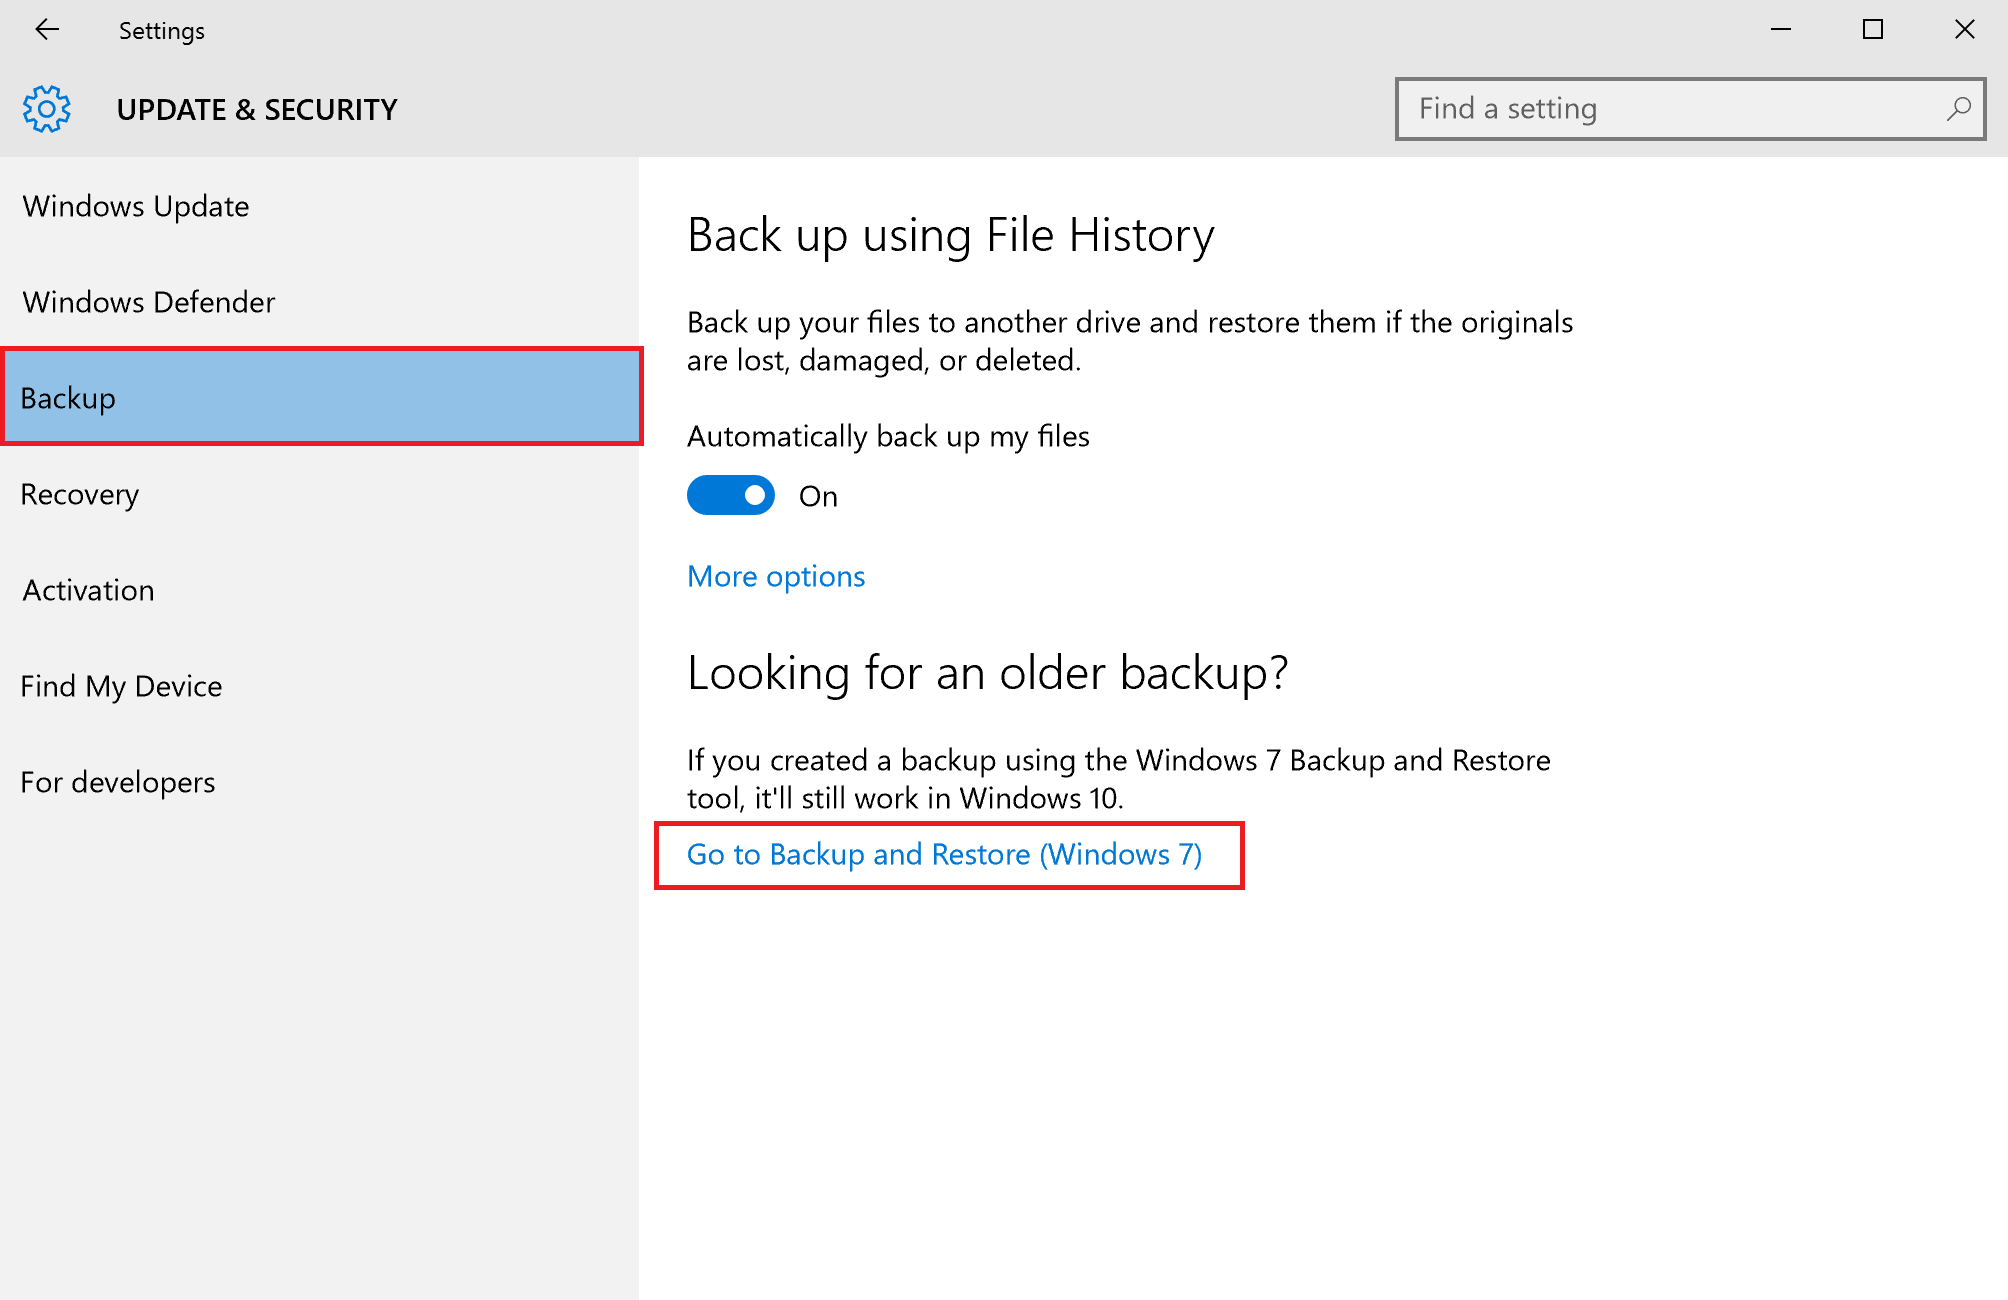
4. When the Updates and Security screen appears, select “Backup” and then choose “Restore”.
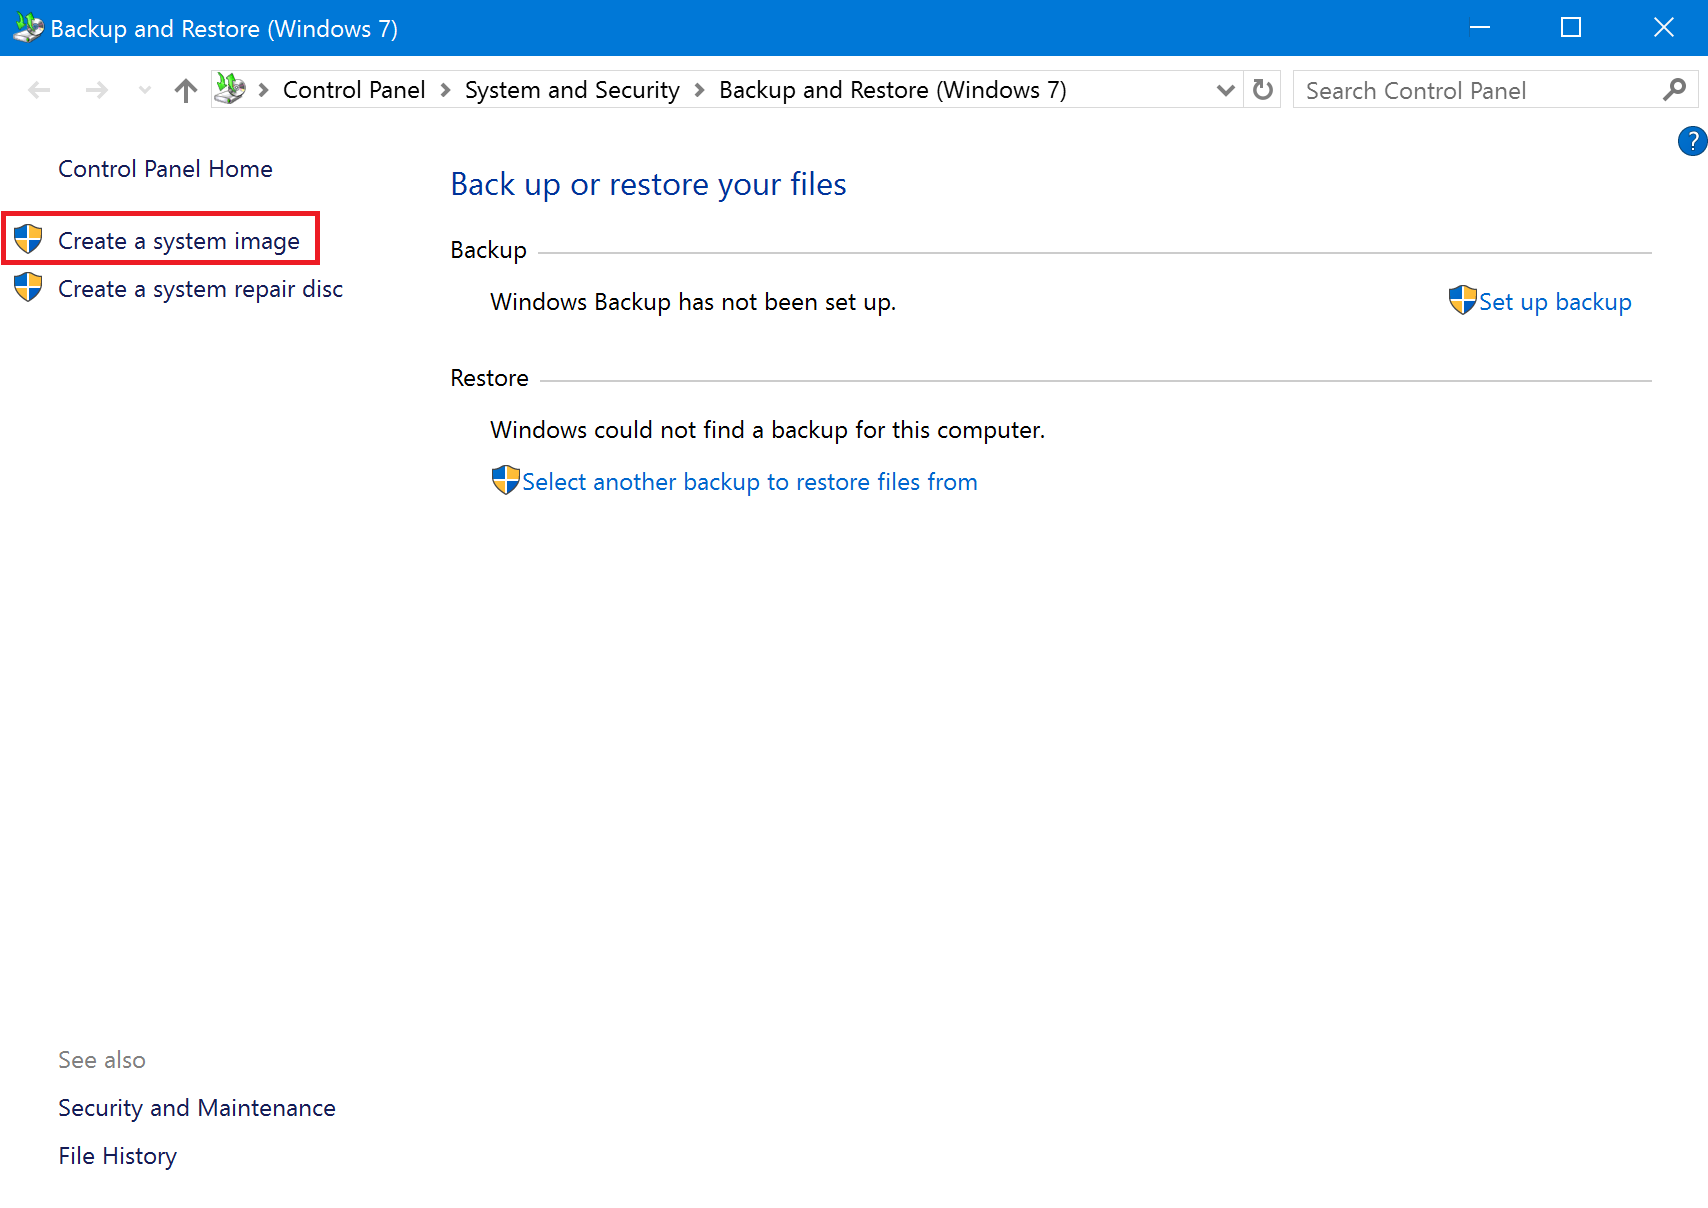
5. When the Backup and Restore screen appears, select “Create a system image” in the left menu.
6. In the “Create a system image” screen, choose the location where you would like to save your back up to and then choose the next button.
o In this case, you would click on the external hard drive.

7. If the “Do you include any drive to back up?” message appears, choose the drive you want to back up and then select the next button. If it does not appear, go to the next step.
- To ensure that your back up includes the drivers required for Windows to run, do not remove any items already chosen (check marked).
【Reference information】
If you want to back up a drive that is encrypted with BitLocker, when you see the message “drive is encrypted C:…” click the “OK” button. Please keep the drives that you put the encrypted backups on in a physically secure location.
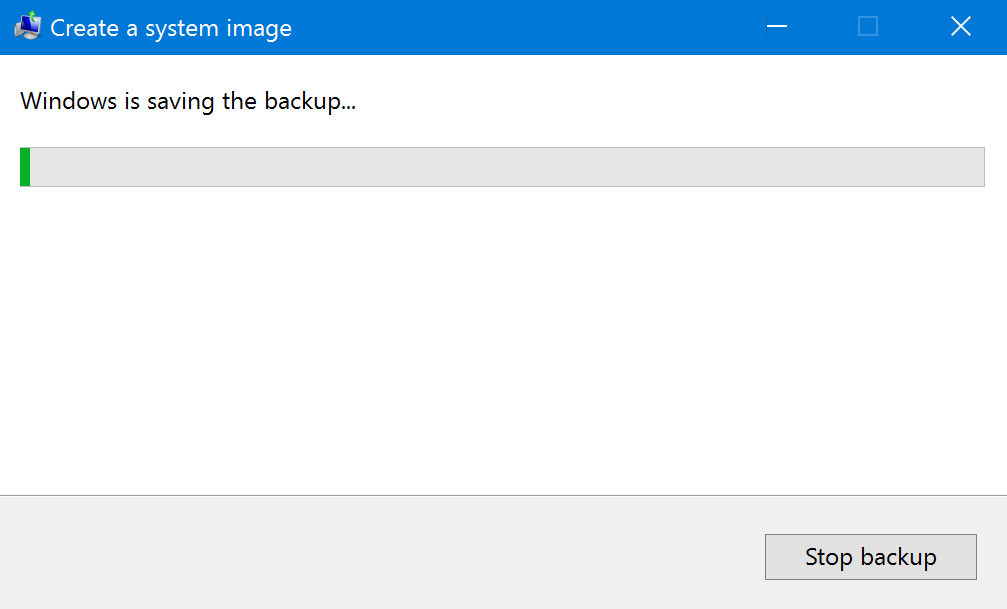
8. Once the message “Verify the configuration of backup” appears, check the contents to be sure it includes everything you’d like to include and then select the Start Backup button.

9. It may take a while before your back up is complete.
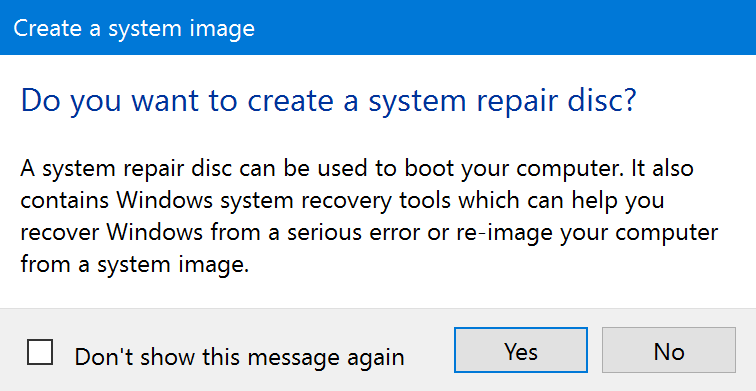
【Reference information】
While the dialog box “Do you want to create a system repair disk?” is displayed, select the [Yes] button or the [No] button. If you have a disk drive with a built-in or external CD / DVD disc drive, select the [Yes] button. When the Create Emergency Repair Disk screen is displayed, choose to create a system repair disk. If you do not have a disk drive, please create a recovery drive using a USB flash memory. In addition, you can also create a system repair disk and recovery drive.
▼ related Q & A:
[Windows 10] system repair disk and recovery drive
10. When the message “Backup was completed successfully,” appears, select the Close button.
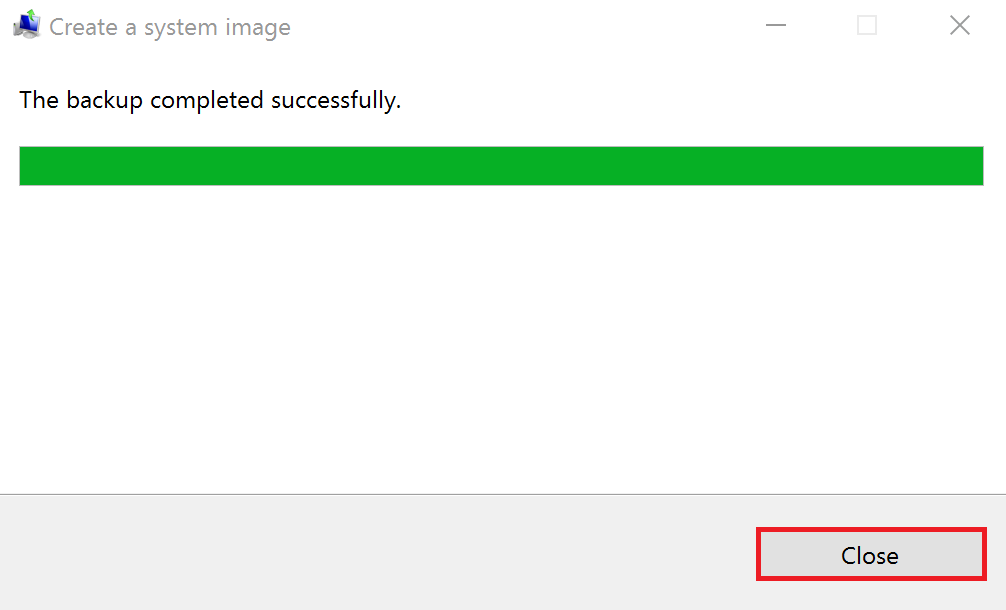
This completes the operation above.
Make sure you can access the folder entitled “Windows Image Backup” in the back up destination.